  Procedure to download using the CRA's Express NOA service |
The procedure below is in accordance with CRA's prescribed rules and regulations relating to their electronic delivery service of the Notice of
Assessment/Reassessment (Express NOA).
Before attempting a download, make sure that you are aware of the requirements. These can be found in the "What you will need to use
this service" section of the CRA Express NOA knowledge base page.
Note: When your client completes Part E of Form T183 to have his notice of assessment or reassessment made available electronically
to you, the CRA will not send you or your client a paper copy of the notice of assessment or reassessment.
How to use this service
-
To download the notice of assessment (which is available immediately after successfully filing the return electronically), in the Client
List screen, select up to 10 clients for which you want to do the download. These clients can be in different families.
Clients can be selected either by marking them OR, for a single client, by positioning the cursor on that client.
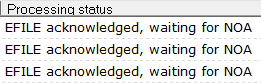
All selected clients must have a Processing status in the Client List of EFILE acknowledged, waiting for NOA.

To quickly see which clients are waiting for a notice of assessment, you can filter the Client List. See the section
Client List filters for Express NOA below for instructions.
-
Select CRA Express NOA from the Efile menu, OR click the CRA Express NOA icon on the Client List toolbar.

If the menu item or toolbar icon is grayed out, it means that you have selected one or more clients that do not have the Processing status
in the Client List of EFILE acknowledged, waiting for NOA. Please deselect these clients and try again.
-
Follow the steps outlined below in the section Downloading the NOA from the CRA.
-
After the download, the Processing status in the Client List will automatically change to Assessed.
-
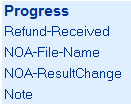
You can view the Notice of Assessment by going to the keyword group Progress "Assessment notice received federal" in the Data Entry screen.

-
The keyword NOA-File-Name contains the path of the archived file of the Notice of Assessment. Click on the icon
at the end of the path to display it.


-
The Express Notice of Assessment will be displayed in your web browser.
-
The keyword group Progress "Assessment notice received federal" in the Data Entry screen will also contain the following keywords:
-
Refund-Received or Amount-Owing DT Max will enter the amount from the Notice of Assessment.
-
NOA-ResultChange DT Max will add this keyword if the notice of assessment differs from the tax return. To quickly see which
clients have this keyword, you can filter the Client List. See the section Client List filters for Express NOA below
for instructions.
-
The Express Notice of Assessment (ENOA) is also delivered in the Tax return section of DT Max. You can save or email the Notice of Assessment as a PDF file.

It will be the last form in the Table of content.
-
You can also print Notices of Assessment in batches by using a customized destination found in Printing options. See the section
Print Notices of Assessment in batches below for instructions.

Downloading the NOA from the CRA
-
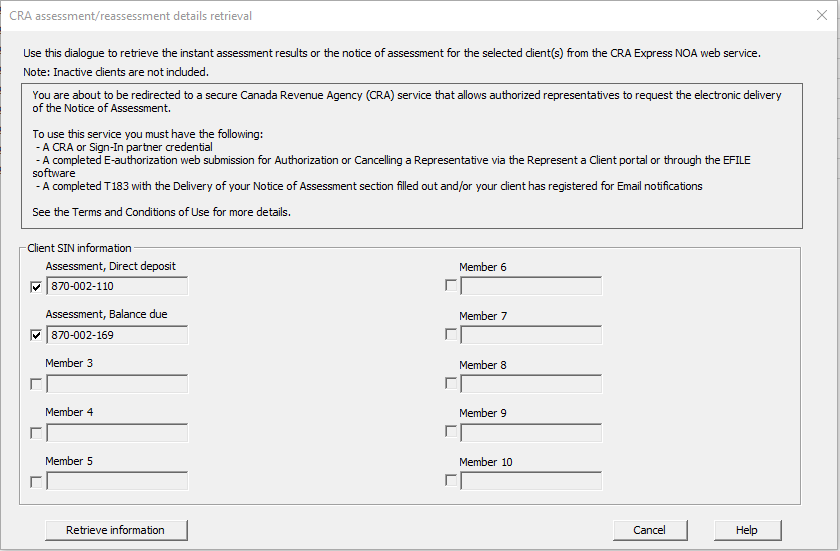
A window will open that lists the names and SINs of all the selected clients.
Note: A maximum of 10 files can be downloaded at one time.*
*CRA requirement.
-
Click the Retrieve information button at the bottom of the window to start the download process.
Your web browser will open the CRA's login page.
-
To access the site, select one of the following methods:
Note: You will only be able to access data for those clients who have previously given you access. This can be done by completing an E-authorization web submission for Authorization or Cancelling a Representative via the Represent a Client portal or through DT Max for each client. For more information on these methods, see the CRA's
About Represent a Client
web page. You must also have a valid Form T183 and Part E for Express NOA must be completed.
-
Follow the on-screen instructions. Note: If you get error message number 00012, it means that the time/date is not set correctly on your computer.
-
The Results log window will open and show the progress of the download.
Note: If any problems occur during the download, they will be displayed in this window.
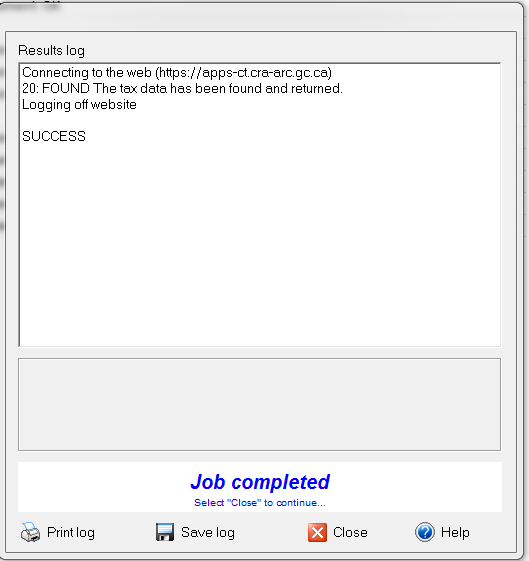
-
After the download has completed, click the Close button to close the Results log window.
Client List filters for Express NOA
When a filter is applied, the Client List will only show those clients who have passed through the filter, that is, those who have met the
criteria set for filtering purposes.
Filter to find clients waiting for NOA
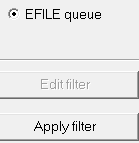
You can use the EFILE queue to filter for the processing status EFILE acknowledged, waiting for NOA.
-
Select Filter the client list from the Tools menu on the toolbar.
-
Select EFILE queue and click on Apply filter.
Filter to find clients where the assessment differs from the tax return
You can customize a filter for the keyword NOA-ResultChange to find clients whose notice of assessment differs from the tax return.
-
Select Filter the client list from the Tools menu on the toolbar.
-
Select Spare filter and click on Edit filter.
-
Enter the keyword NOA-ResultChange in the Keywords section.

-
Click on OK.
-
Click on Apply filter.
Print Notices of Assessment in batches
-
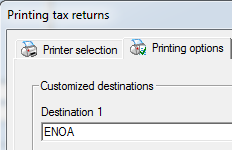
Create a customized destination for ENOA:
While most of the destinations have preset names such as CRA, Client and Office among others, which cannot be changed, two customizable
destinations are reserved for users to designate as they wish.
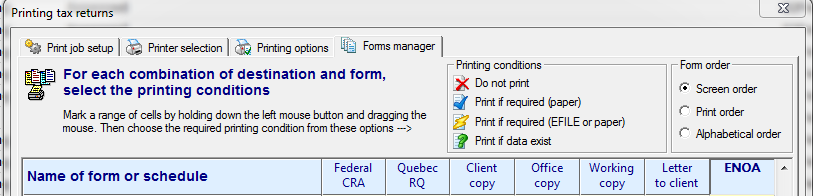
-
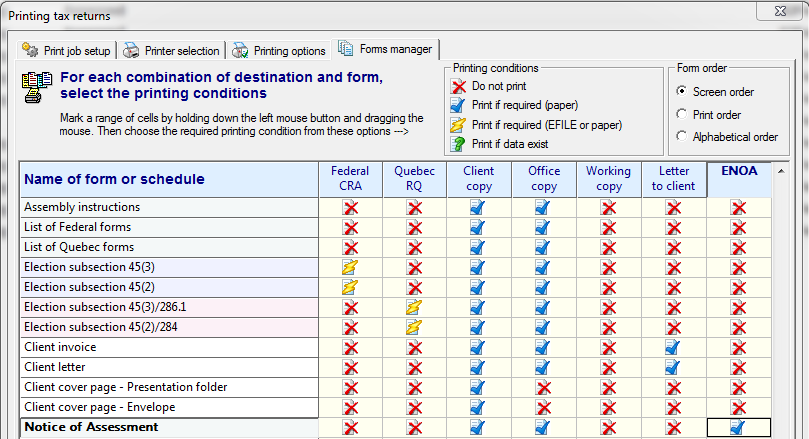
Select the Notice of Assessment form in the Forms manager
-
Once the destination is named ENOA, use the Forms manager to specify
which forms you want sent to that destination.
-
Click the ENOA cell, opposite the Notice of Assessment form, using the right button of the mouse, and then choose the printing
condition Print if required (paper).
-
Click on Save.
-
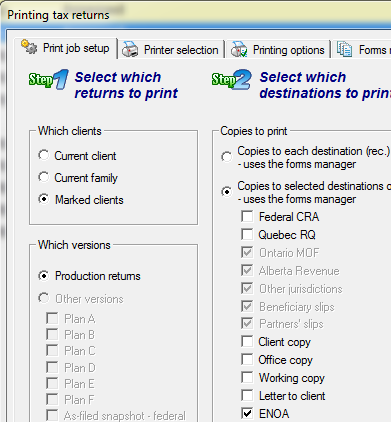
Select the clients for which you want to print the Notice of Assessment:
-
Select the destination ENOA in the Print job setup:

February 21, 2018
|